
AI takes some getting used to. So we’ve provided some quick tips below which we recommend you read.
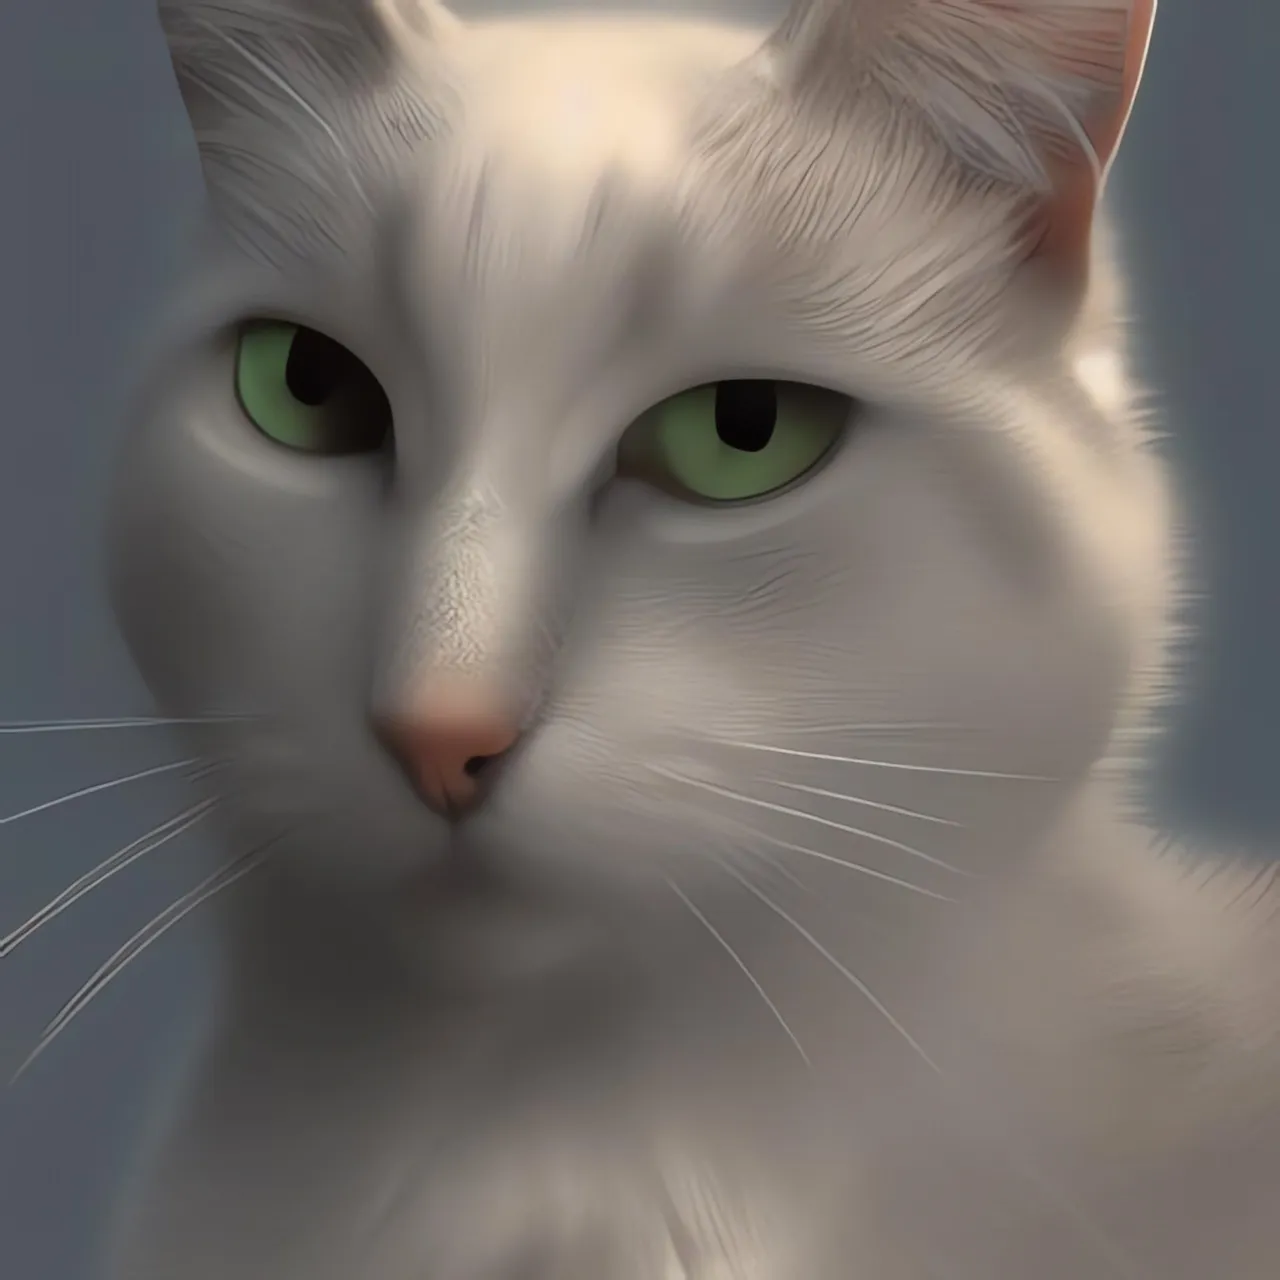
You may think you want a picture of a cat. But are you looking for a photo, or a painting? Is it just the cat’s face, or the whole thing. From the front, or the back? You’ll need to provide this context to get the most out of your renders.
In this mode, you provide a written description (known as a “prompt”) of the image you wish to render, which the AI produces.
Generally, longer (30+ words) and more precise prompts give the best results.
For example:
"Cat"
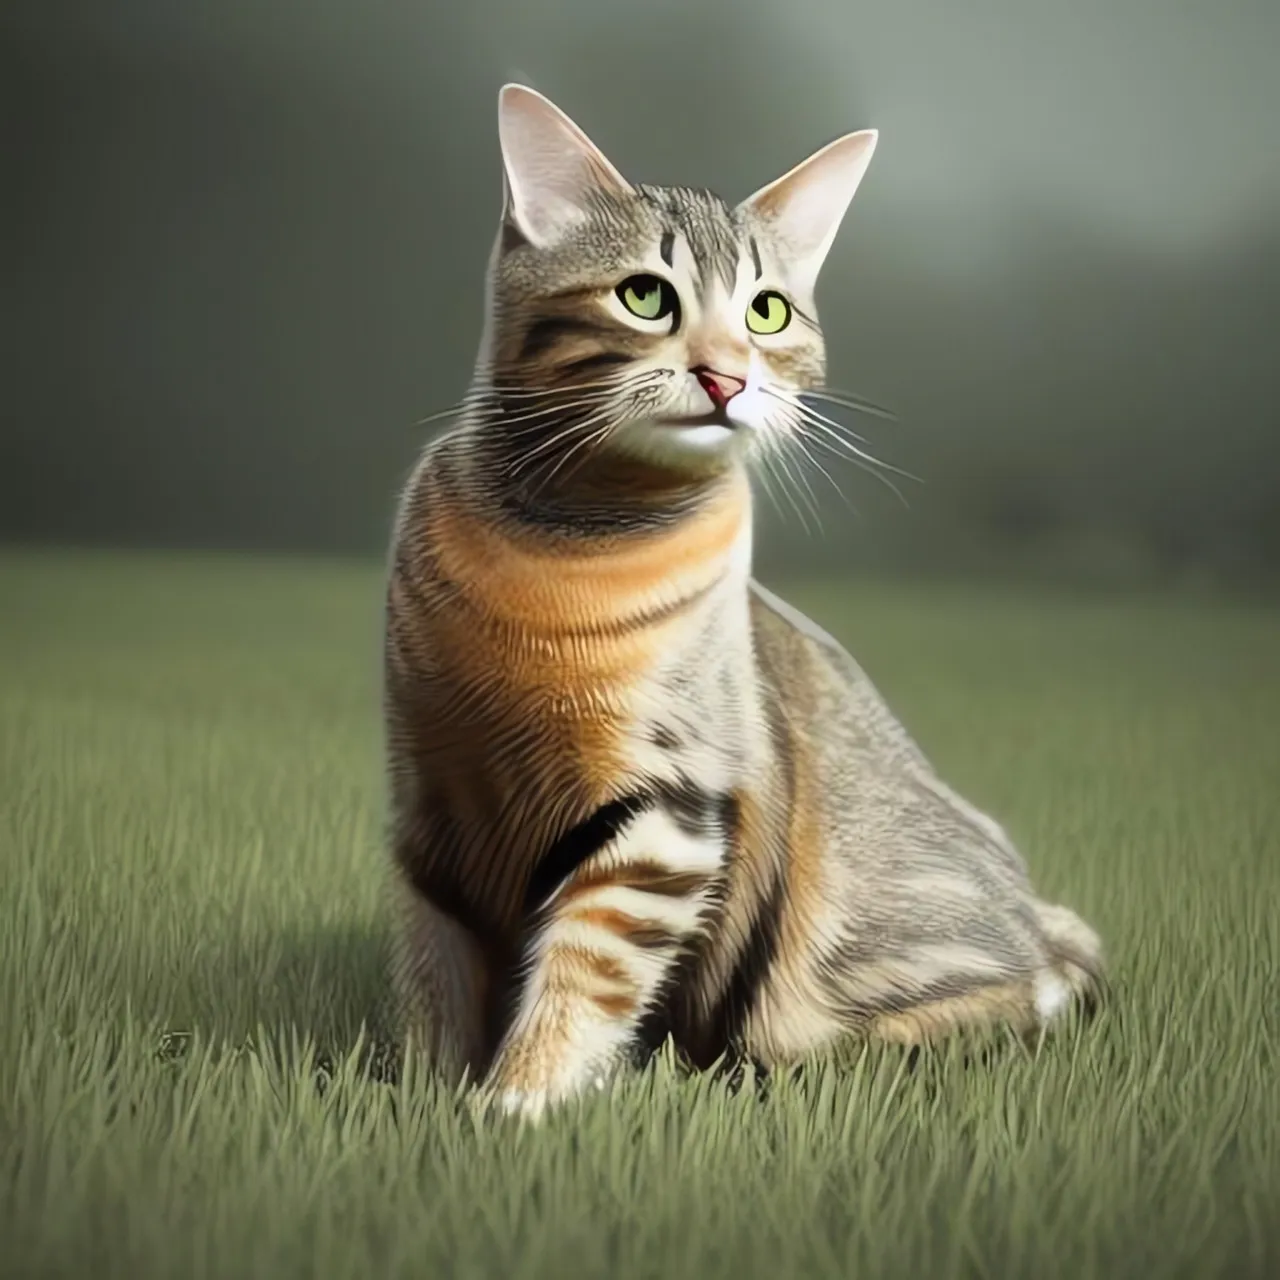
"Beautiful tabby cat sitting upright on grass looking into the distance"
It's the text and keywords that you provde which allow the AI to understand what you're trying to render.
The catch? Your words might not always be the best ones for the AI.
Here's a few steps we can take to optimise our prompts:
Prompts have an order - the earlier words are in your prompt, the more important they are. For example, in the following prompt you're more likely to get a brown dog than a black dog.
A large brown dog chasing a ball across a lawn. The dog is black.

Make use of adverbs to apply emphasis or add detail to your prompt.
A grazing Cow, in front of a farm
Will render differently do:
An enormously large grazing Cow, in front of a beautiful cottage farm
Context is inferred from all keywords in a prompt. For example, in the following prompt:
A cow in front of a farm in England
The word England may already infer "green grass", "beauty" and "sunshine", meaning there's no need for a longer prompt like:
A cow in front of a farm in England, great weather, sunshine, green grass
Put parts of your prompt requiring increases empasis inside round brackets, and parts requiring less empasis in square brackets. Extending our previous example, the following prompt is likely to render a brown dog:
A large brown dog chasing a ball across a lawn. The dog is black.
However, it can easily be adjusted to put less weight onto the "brown dog" and more onto the "the dog is black":
A large [brown] dog chasing a ball across a lawn. The dog is (black).
It's a good idea to generate multiple images for any given prompt - often they'll be very different. Just click the "Generate" button multiple times to do this.
Avolo comes with pre-built styles in the sidebar (more about these below). Want a different style though? You can easily add your own - just tell the AI the style you want. For example by adding "Victorian style" into your prompt.
Avolo can generate art in the style of any well-known artist - and can even merge styles or artists together. Looking for something different? Try combining a few styles together in your prompt, for example by adding to the end of your prompt:
In the style of Picasso and Modern Digital Art
Avolo helps you build your prompt using selectable Mediums/Formats, Styles, Colour Schemes, and Lens Perspective. When applied, Avolo adjusts your prompt to provide optimised wording for each of these behind the scenes.
These can be disabled simply by not selecting a Medium/Format or Style, leaving the Colour Intensity set to minimum, and leaving Lens Perspective at 100mm.
Avolo also provides Prompt Enhancement by default, which may optimise your prompt behind the scenes. This can be controlled in Settings.
The most important parameter you'll set is "Detail". This is how many "steps" Avolo should take whilst rendering your image. A higher number of steps means a render will take longer. It also has a habit of increasing image contrast. Generally:
<5 - you won't have an image yet
6-20 - low qualtiy
21-35 - medium quality
36-45 - excellent quality
45+ - generally not required
Avolo can build textures - images that can be tessellated in all directions to create backgrounds or wallpapers. Enable this setting in the bottom left of your canvas to give it a try.
When switching between texture and normal mode, your next renders will take extra time whilst Avolo initialises.
Advance mode enables many additional settings:
1) Wider range of "Detail Steps" - now choose between 1-100 instead of 20-70
2) Control of "Degrees Of Freedom" - this tells Avolo how tightly it should stick to your prompt. The higher the number, the less variance from your prompt that will be allowed.
3) Control of "Seeds" - Seeds are the random numbers that initialise Avolo for each image. If you run a prompt with different seeds, you'll get different results each time, whereas if you run the a prompt multiple times with the same seed, the rendered image will be the same. It's possible to use _Seed_ to control image style - creating consistent image styles across multiple prompts.
You’ll discover there are some topics the AI is not good at rendering - for example faces. Creative workarounds often exist, but on occasion you may need to try a very different prompt or, in the worst case, look elsewhere for your image.
And remember, the AI takes your input as _guidance_ only - sometimes the result won’t be as expected, and it's often a good idea to generate multiple images for a single prompt - you can do this just by pressing the \"Generate\" button multiple times.
Copyright ©2022 Avolo. All rights reserved. Powered by the team at Ephyna.
